RVT
Paths often contain thousands of meshes and decals, laid on top of each other, for things like dirt, cracks, patches, potholes, and leaves. Rendering that many decals is costly, as it requires many draw calls and creates overdraw - each pixel is drawn multiple times to figure out the final color.
Runtime Virtual Texturing (RVT) is a very powerful method of optimizing such scenes. It works by splitting the rendering into two stages.
In the first stage, selected meshes/decals are rendered into an RVT texture (from the top-view perspective). This texture is only redrawn when the camera moves and new map areas need to be displayed or an already rendered area needs to be rendered at higher resolution. So this stage is run relatively rarely and is rendered in small fragments, on demand.
In the second stage, the actual frame is rendered. In this stage, only the main road surface is rendered and the final properties of the surface are sampled from the RVT texture. Rendering of decals is skipped entirely. As this stage is run 30, 60 or more times a second, we get significant savings in terms of performance.
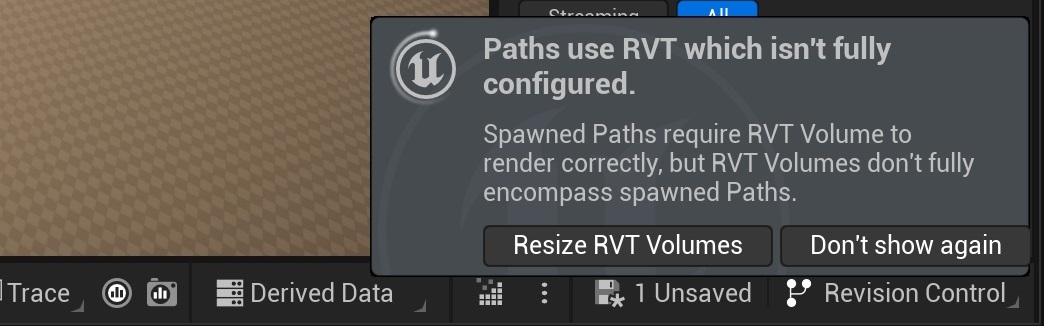
Setting up RVT in the level
We added a warning when RVT is used in Paths but isn't enabled or fully configured in the level. For convenience, we added a button that configures RVT with a single click. The button enables RVT in Project Settings (requires restarting the Editor), adds RVT Volume to the level and scales the volume to encompass the updated Path.
As you make further changes to the Path, it may exceed the bounds of the RVT Volume and we then show the warning again. Clicking the button will adjust the volume to the new Path dimensions.
Issues caused by RVT
Artifacts on overlapping actors
One of the challenges with RVT is how to render actors that overlap. For example a highway that passes over another road, where lane markings are rendered using RVT. As RVT texture is rendered top-down, all the lane markings in the area get rendered to the RVT, which leads to artifacts (see the left image).
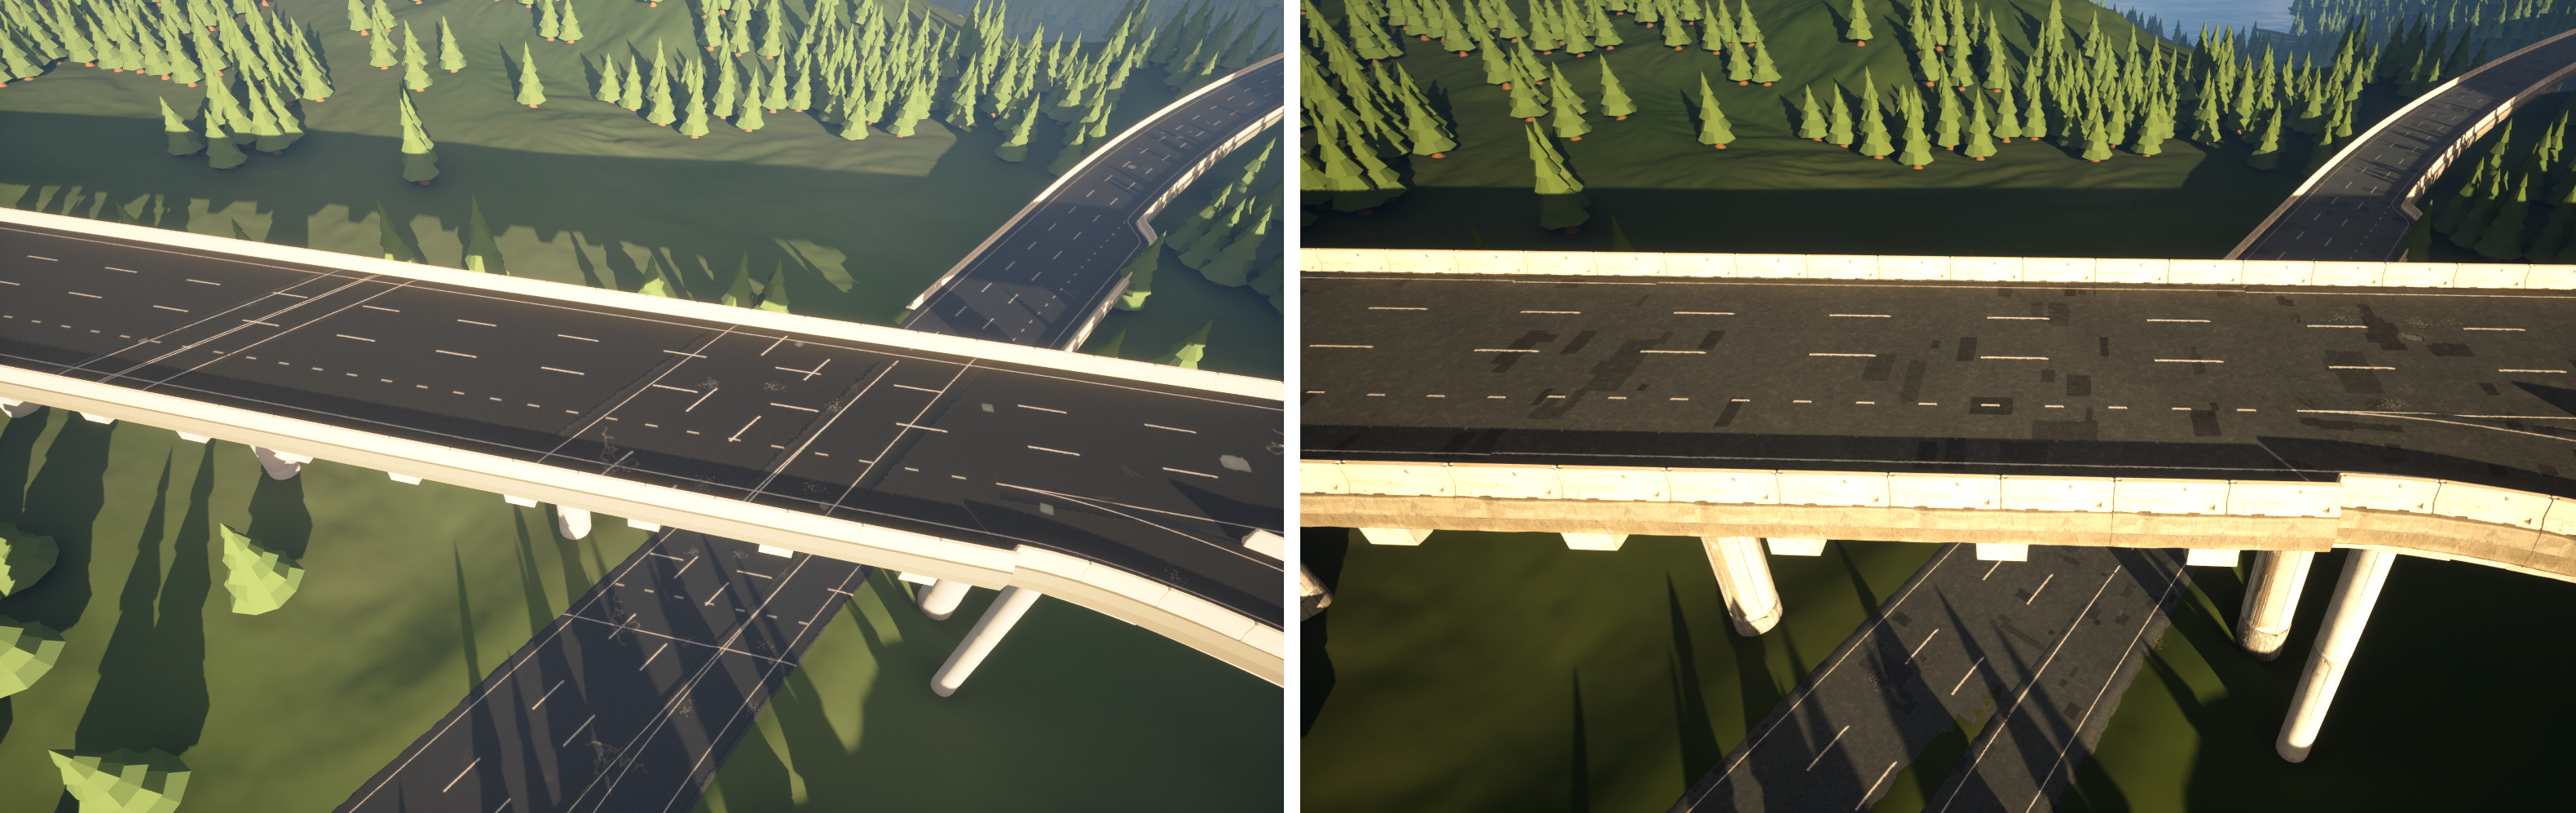
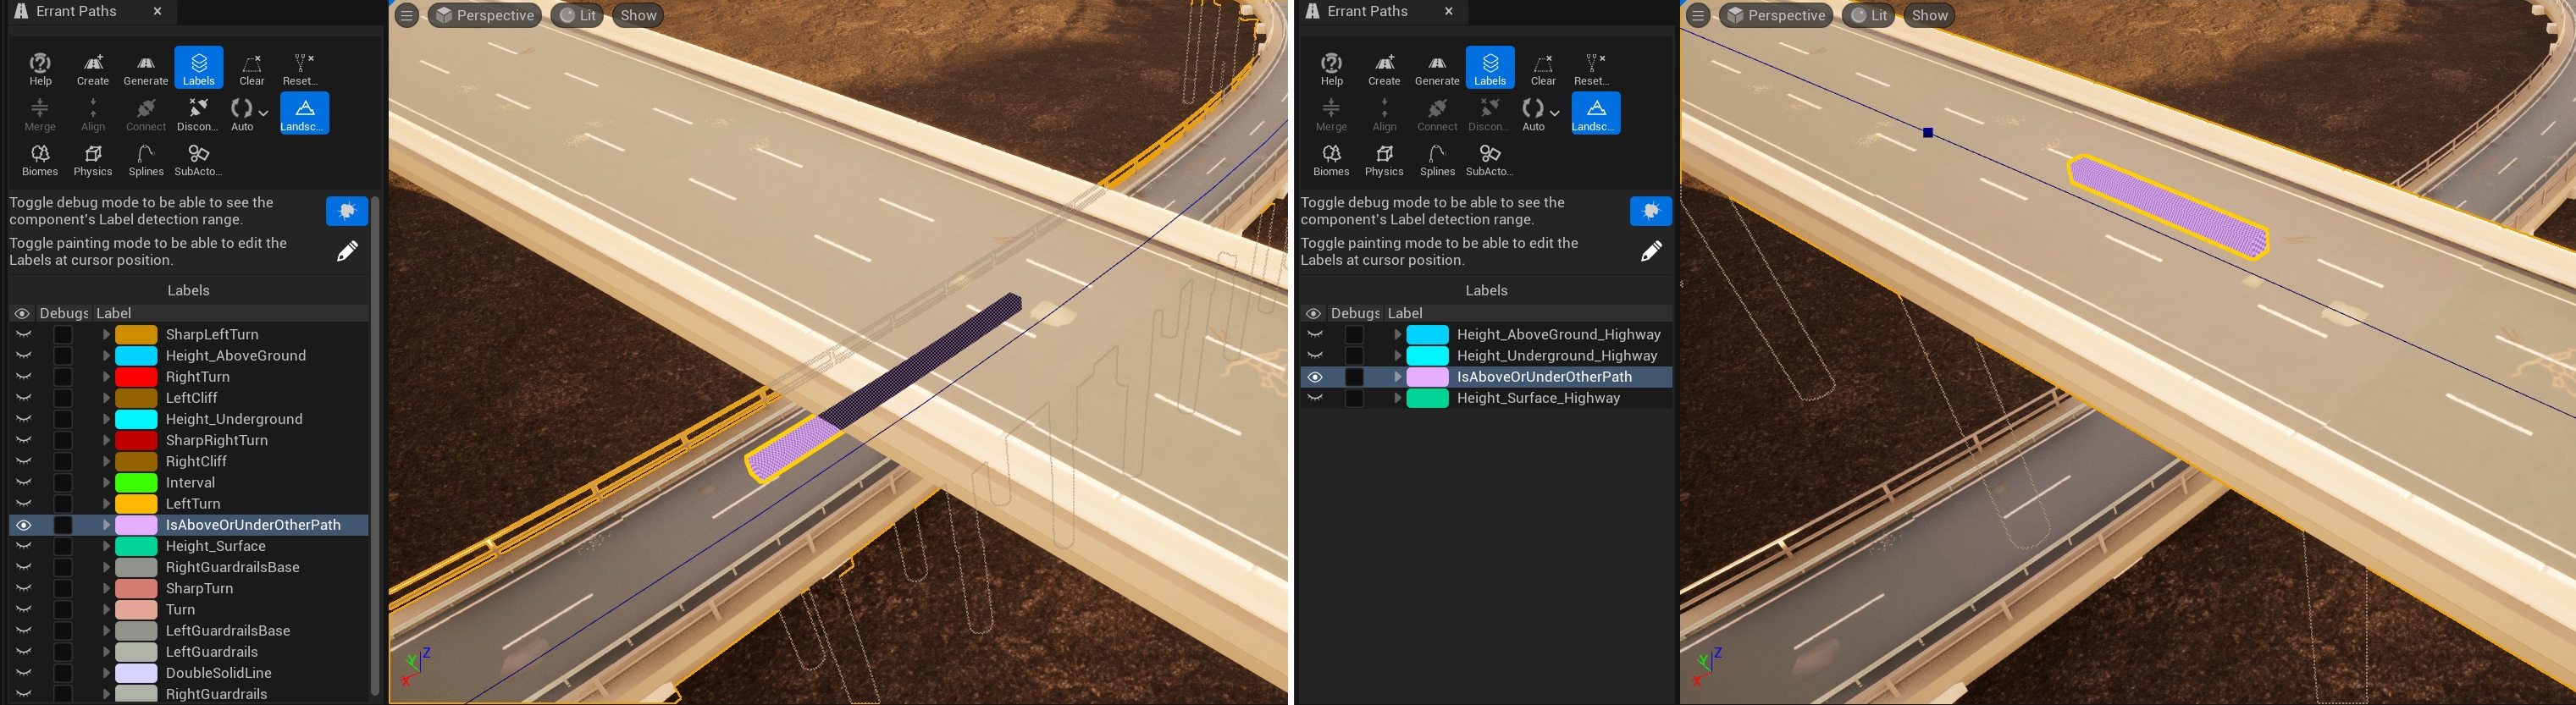
In Errant Paths (and our AssetLibrary) we solve this problem by detecting overlapping Paths and disabling RVT for meshes in the area. The detection is done by a PathLabel "IsAboveOrUnderOtherPath". Currently, this PathLabel traces rays to find overlapping Paths, so the detection works only when collision is generated for both overlapping Paths. It means that Paths without collision will still show RVT artifacts. We plan to improve this aspect in the future.
Disabling RVT is done by a Generation Callback that is exectuted for all the meshes of each Path. It is configured in PathDescription assets of various Paths.
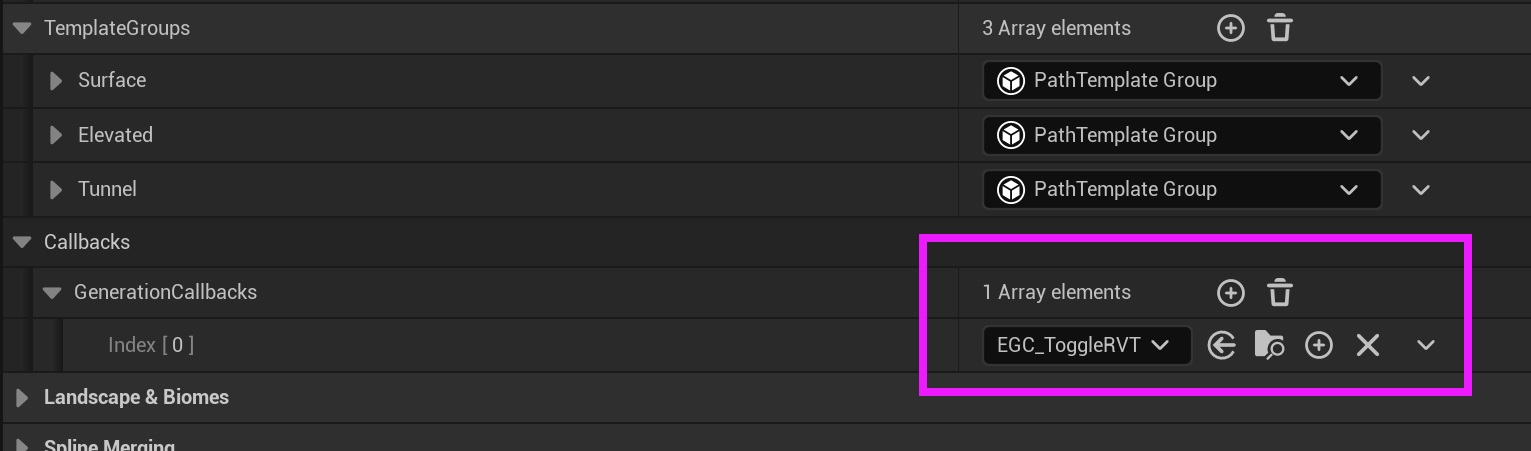
Disabling RVT is done via a static material parameter "Enable_RVT" added to our example materials. We ecourage you to add this parameter to your road materials as well (see M_Asphalt material as an example).
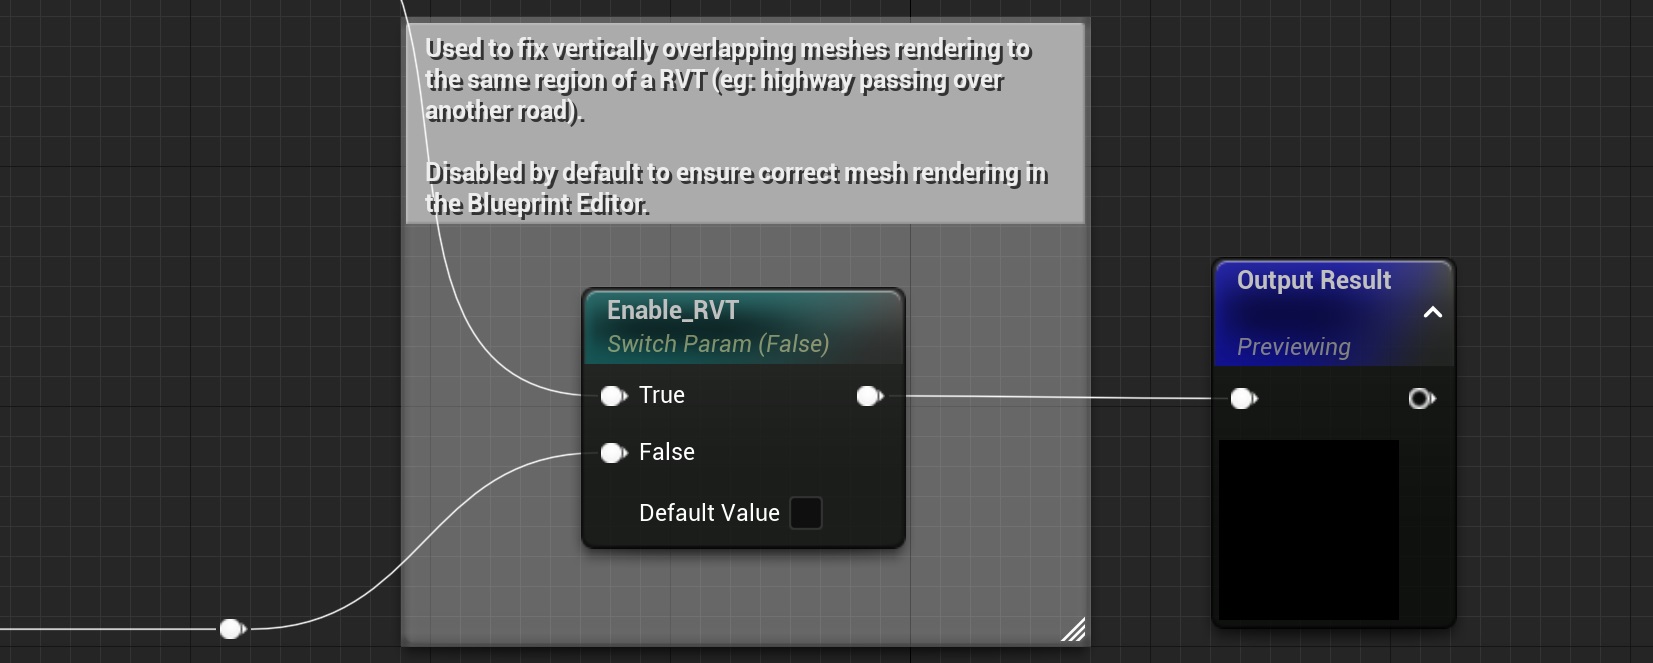
It has an added benefit of allowing us to disable RVT for meshes in the Blueprint Editor and thus rendering them with textures.
This solution was introduced in Errant Paths 0.10 and Errant Paths Asset Library 1.1.
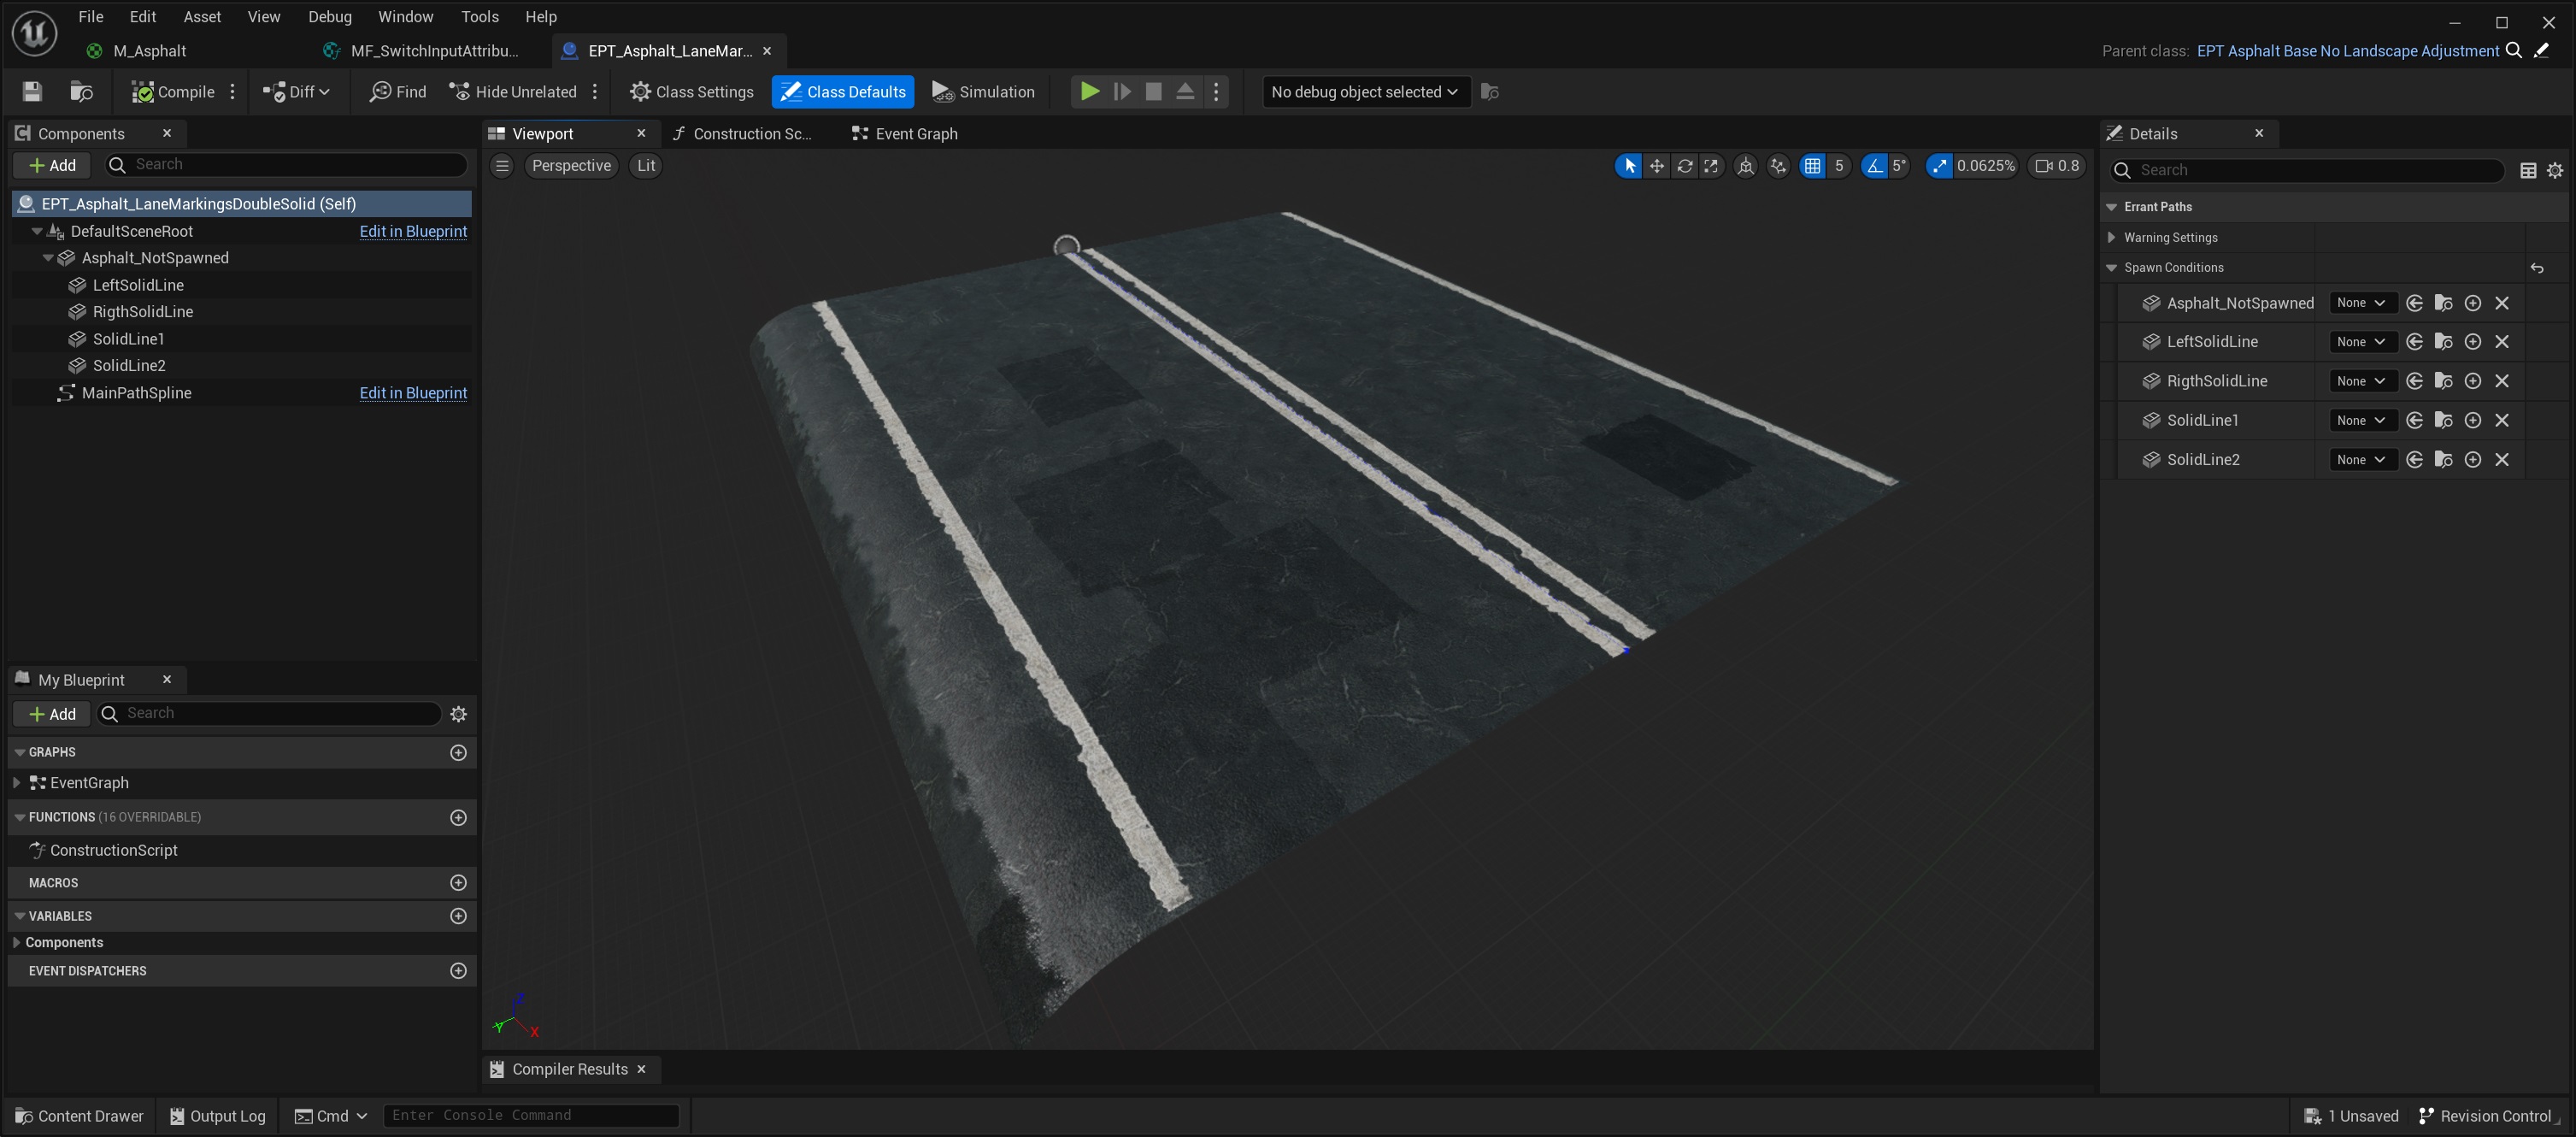
Incorrect rendering in the Bleuprint Editor
Meshes that sample RVT don't render properly in the Blueprint Editor. They may flicker with random colors for example. That's because RVT system doesn't run in the Blueprint Editor and the RVT texture has no useful data.
Fortunately, "Enable_RVT" material paramater mentioned in the previous section allows us to fix this problem easily. We set its value to false, by default, in the material. This disables RVT in the Blueprint Editor and fixes the rendering. In the level, our Generation Callback sets this parameter value back to true, where appropriate.